


Link a member to a group
Group your members by team, license, or category
Groups must first be created in SETTINGS → Manage member groups. Once created, you can assign members to these groups and manage your lists easily.
Assign a group to members
Go to MEMBER → Link a member to a group. Select the desired group (drop-down arrow), then enter the member's name.

Image 299: Access to the linking menu
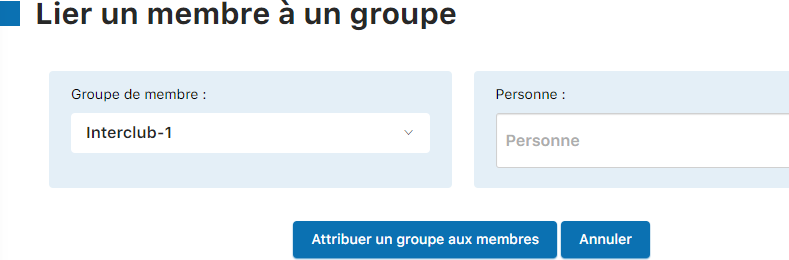
Image 300: Select the group and enter the member's name
Click "Assign a group to members" to confirm the assignment.
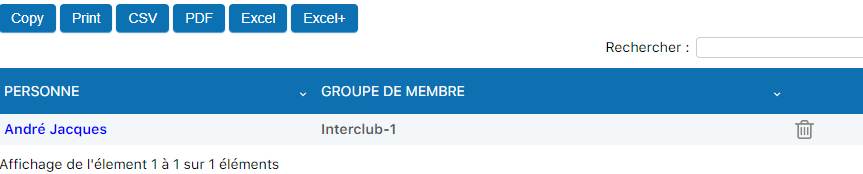
Image 301: Use the trash icon to remove a member from the group
View a member's groups
From the same menu, you can view all the groups a member belongs to.
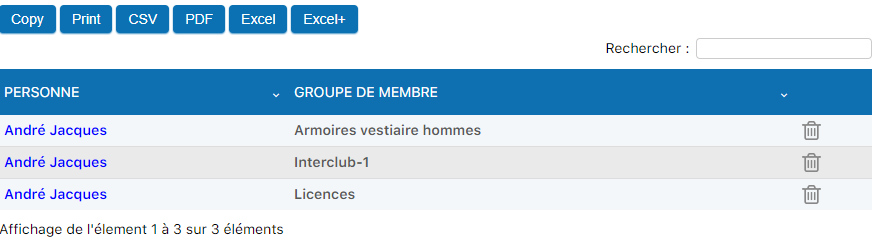
Image 302: View of all a member's groups
You can search by group name to filter the list:

Image 303: Search for a group to filter
Export the filtered list with the "Excel+" option to get complete data:

Image 304: Export the filtered list to Excel+
Remove a member from a group
Filter the group using the search bar, then click the trash icon next to the member to remove.
Image 303: Click the trash icon to remove the member from the group
Plugin.ch Manual — Chapter 8: Manage members
Professional documentation